How to measure pipe for cladding
One tape, a few numbers per fitting, and a photo if you are unsure. This is how we ask for sizes, so what you send is what we make.
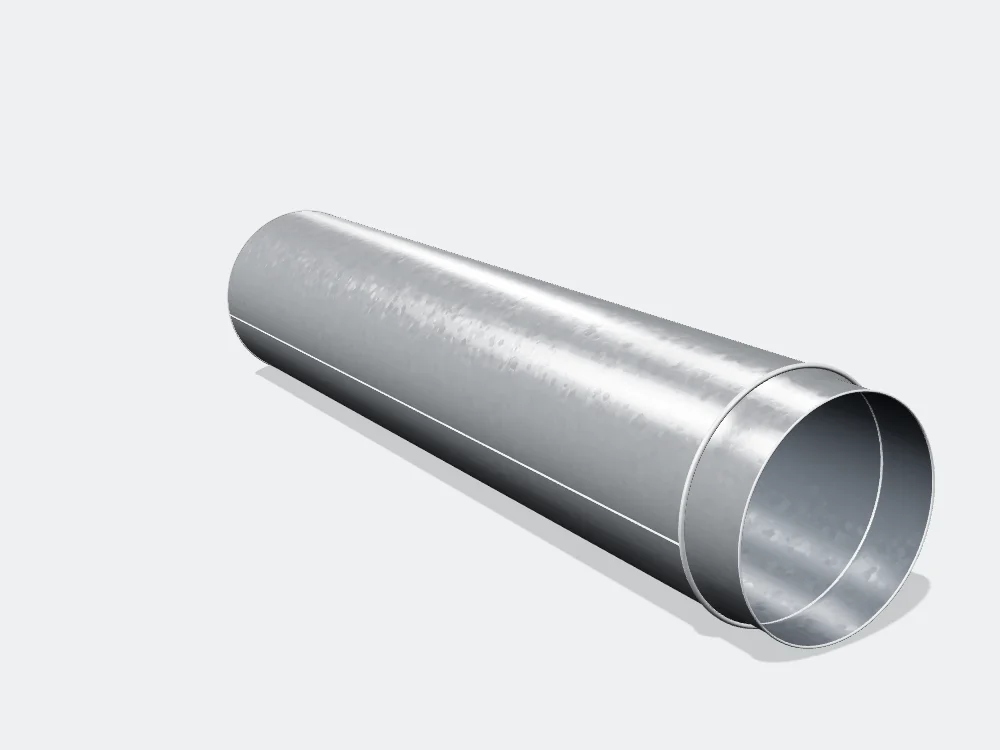
The one rule: measure over the lagging
Cladding goes on the outside of the insulation, so every size starts there. Lay the tape across the widest part of the lagged pipe, outside to outside, and write that down. Never give us the bare pipe for a casing, a bend or a tee: a fitting made to the bare pipe will not close over the lagging.
We add a 0.3 cm allowance over the lagging so the cladding slides on. You do not add it yourself; the calculators and the phone app add it for you. Give us sizes in centimetres. Straight runs are in MTRS, our 1-metre straight casings (1 × MTR, 1/2 MTR, 3 × MTRS).
Or give us the insulation section
If you know the insulation, the section size is just as good. Sections are named pipe outside diameter × insulation thickness, the way they are written on the box and on the supplier’s price list: 76 × 25 is a 76 mm pipe with 25 mm of insulation, and 168 × 30 is a 168 mm pipe with 30 mm. We work in these section sizes, not DN sizes, because that is what insulators buy and fit.
Straight runs
Run the tape along the pipe from one end to the other, kept straight, and give us the total in metres. We make straight pipe casing in 1 × MTR or 1/2 MTR lengths with swaged ends that slide together, and a short make-up piece finishes a run.
Bends and elbows
For a radius bend we need the size over the lagging and the angle. A square corner is 90°, the usual. A single bend is never more than 90°: a bigger turn is two bends. Our standard radius is one and a half times the bare pipe size, measured to the centre of the pipe, and never tighter than three-quarters of the cladding size. Only if the bend on site is tighter or more sweeping do you measure the radius, from the centre point of the curve to the centre of the pipe.
A mitred elbow is a different fitting: two pieces, one hard corner, no throat. Give us the size and both legs, each measured from the open end to the outside corner.
Small bore has its limits. A radius bend is made only from 12 cm finished cladding; smaller, we make it as a mitred elbow. Under 8.5 cm finished, an elbow is too small to make as a standard fitting and the office prices it on request.
Tees, reducers and end caps
- Tee: the main pipe and the branch, each over the lagging, outside to outside. If it matters where the branch sits, measure from the end of the main to the centre of the branch.
- Reducer: the big end and the small end over the lagging, and the length of the sloped part only. Do not count straight bits at the ends.
- End cap: the one exception. Give us the bare pipe that pokes through the cap, not the size over the lagging, because the hole is cut exactly that size. Give us the insulation size too.
- D box (valve box), square box and flange box: the box sizes, plus the lagged pipe where it enters the box. That hole is cut exactly to the number you give, so add a little if it must clear rough lagging.
Not sure? Send a photo
A drawing, a schedule or a photo is enough to start. A photo and a tape measurement on WhatsApp is enough to get a price. If a word on a sketch is new to you, the trade terms page explains each one in a line. We make to the measurements you send, so check them before you send. If we got it wrong, we remake it the same week, no charge.
Next step
Send the sizes, a drawing, a schedule or a photo and we aim to quote the same day. Sending a job is a quote request, not an order. Rather talk it through? Ring or WhatsApp the workshop on +353 87 212 6144, Mon–Fri 07:30–17:00.
Send a job to quoteFor plumbing & heating contractors · All guides · The fitting calculators · Trade terms · FAQ · Contact